Next Post
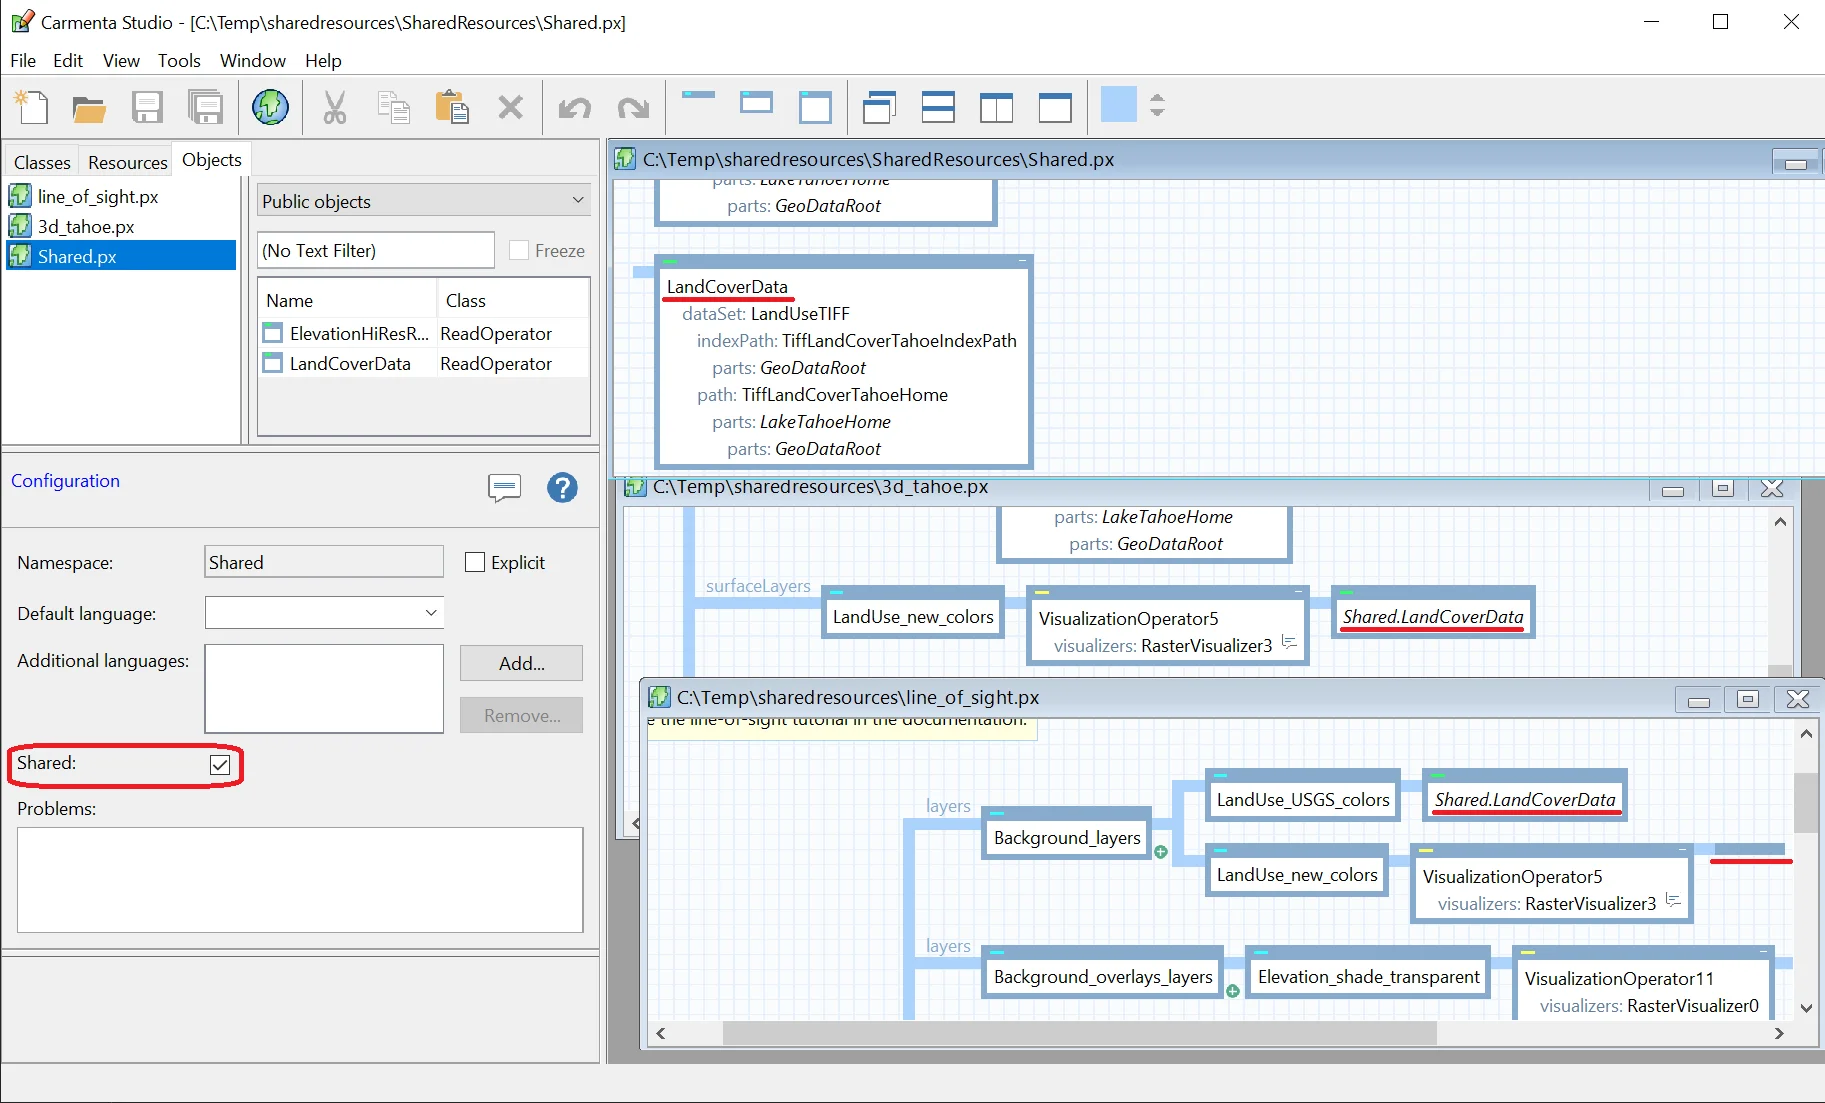
Using Shared Resources
A presention of tools to create shared public objects that can be used by multiple different configuration files and only exist as a single instance in memory.
View Post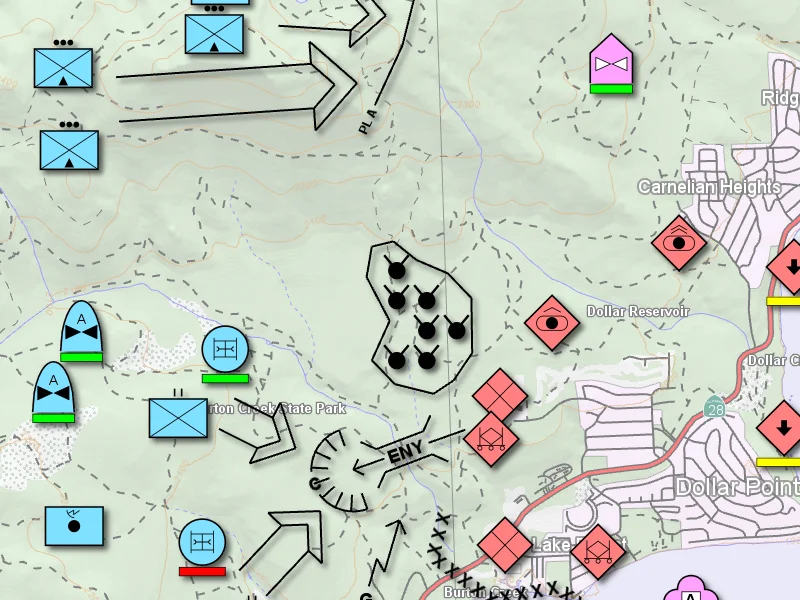
Carmenta Engine is most often used to render static or interactive maps as part of a user interface. Today, however, we will explore how to write a script that can save a map render directly to an image file using the Python API.
This archive contains one solution to the task at hand.
Let’s get started!
To follow along with this article you need to:
For more information on working with the Python API, see the Python API article in the SDK documentation.
The first thing you need to do in a Python script is to import the necessary modules. You can find the name of the module in the Carmenta Engine SDK documentation for the classes that you use in the script.
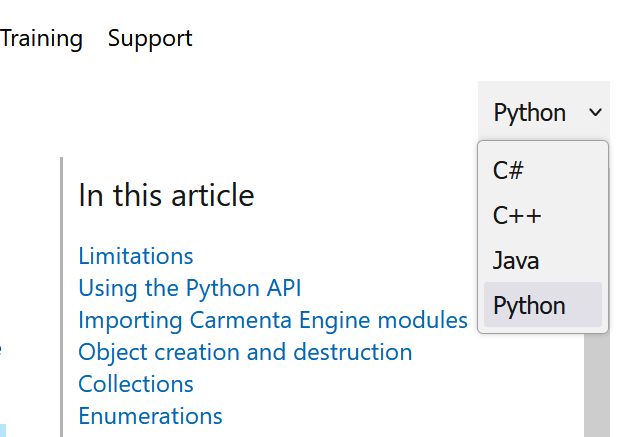
Tip: Make sure to select the Python API in the documentation:
In this exercise we know that we will need to use the Runtime class, so look it up in the documentation to see what modules you need to import. Then start writing your first line of code:
from MODULENAME import *
The first thing we need to do when we are going to use Carmenta Engine SDK is to initialize the Runtime. You can find information about how to do this from the Runtime class in the documentation. Click on Runtime Members, and then on initialize
Notice that there are two overloaded methods for initializing the Runtime. Today we are going to use the simple one, but think about when you would need to use the other one.
Add the following line to your file:
Runtime.initialize()
While you remember it: when your script is done you must shut down the Carmenta Engine runtime. Add a bunch of blank lines to your script and on the last line, add code to shut down the runtime. There is a method for this on the Runtime class, look for it in the documentation.
The next thing we need to do is to read the configuration that we want to create an image from. This can be done using the Configuration class, so look it up in the documentation.
Note: Since we are going to use a new class, make sure that the module required for the class is imported in your script.
Next, go to Configuration Members to see how we can read a configuration. We can see that there isn’t any obvious method to use, but that the constructor is overloaded, so have a look at the different constructors you can choose from.
In this case we can simply use the following line to load the configuration into a new variable:
conf = Configuration('tactical_map.px')
This code should be placed between the lines where you initialize and shutdown your runtime.
If you save your python file in the same folder as the configuration file you can use relative names as in this example. If you save it in another location you need to use an absolute path.
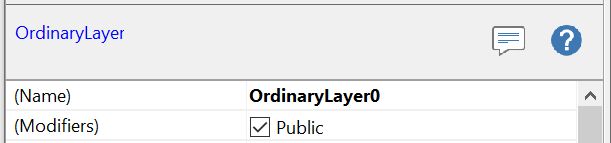
In a Carmenta Engine configuration, the View is always a public object so that you can access it from your program, but you can make any object in your configuration public by checking the Public property under (Modifiers) in Carmenta Studio:
In the documentation, if you look at the properties of the Configuration class, you can see that there is one property that contains the names of all public object, and one method that you can use to get the public object with a specified name.
Tip: If you open up the tactical_map.px configuration in Carmenta Studio and click on the Objects tab, you can set a filter to only show public objects in the list that is displayed, that makes it easy to find the name of the object you want to load.
Load the View into a variable by replacing the name string with the name of the View in the following code:
view = conf.getPublicObject("NAME")
The View is the most central object in Carmenta Engine, and it contains a description of a map representation, but the drawing of the map is done by the Drawable that is connected to the View. There are different Drawables in Carmenta Engine depending on what you want to use your map for. By default there is a BitmapDrawable attached to your View when you create a configuration in Carmenta Studio.
Since we are going to use the BitmapDrawable class now, remember to make sure that we have loaded the required module for it.
You can access the drawable via the drawable
view.drawable
If you look at the properties of BitmapDrawable in the documentation, you can see that it has properties where you can set the width and the height of your drawable. These will be used as the dimensions for the image you will create.
Use the following lines to set the dimensions of the drawable:
view.drawable.width = 800
view.drawable.height = 600
Note: The larger dimensions you set the longer it will take for Carmenta Engine to draw the image, and for very large images you might even run out of system memory on your computer.
Now that we have updated the dimensions of the drawable we need to let the View know about this by calling the update method. We will also set the update attribute updatePrinting
Tip: You can find a complete list of the different update attributes if you look at the updateAttribute
Use the following lines to set the update attribute and update the View:
view.updateAttributes["updatePrinting"] = True
view.update()
We have now prepared everything you need for saving your image, and since it is the drawable that draws the image, there is a method for this on the BitmapDrawable.
Find the method on the drawable for saving the image and use it to save the image to a file.
Make sure that the script shuts down the Carmenta Engine runtime once you have finished everything you want to do with Carmenta Engine.
Save your script file with a good name and the extension .py
Now you should be able to open a command prompt and move to the directory where you saved your file and run it by typing:
python filename.py
The resulting image should look something like this:
In this article we have explored how to:
The Python API documentation describes the myriad possibilities that scripting against Carmenta Engine allows. Do have a look around, perhaps you will find new ways to automate or otherwise simplify your development or test and delivery pipelines!
A presention of tools to create shared public objects that can be used by multiple different configuration files and only exist as a single instance in memory.
View Post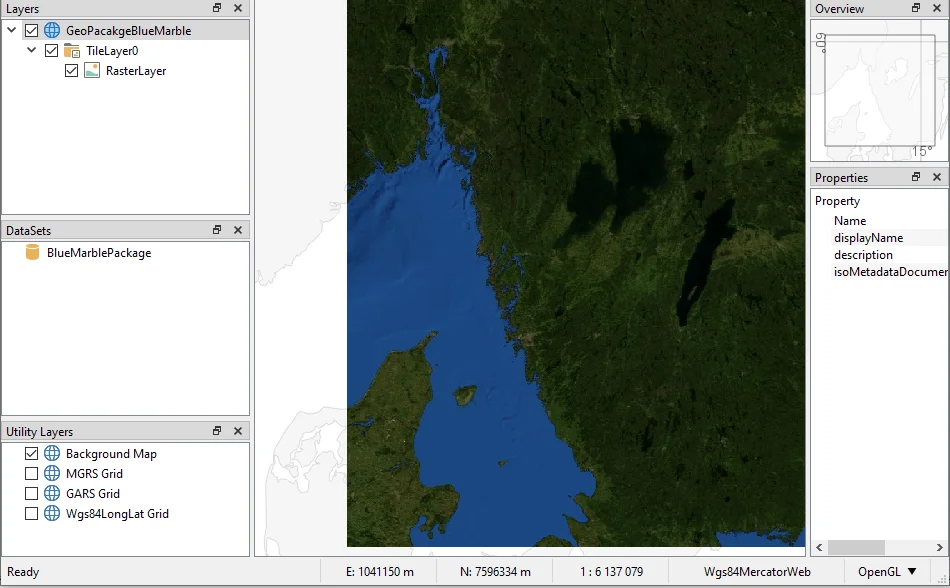
Guide on how to generate OGC GeoPackages using Carmenta Explorer. Step-by-step guide for developers working with geospatial data and open standards.
View Post