Next Post
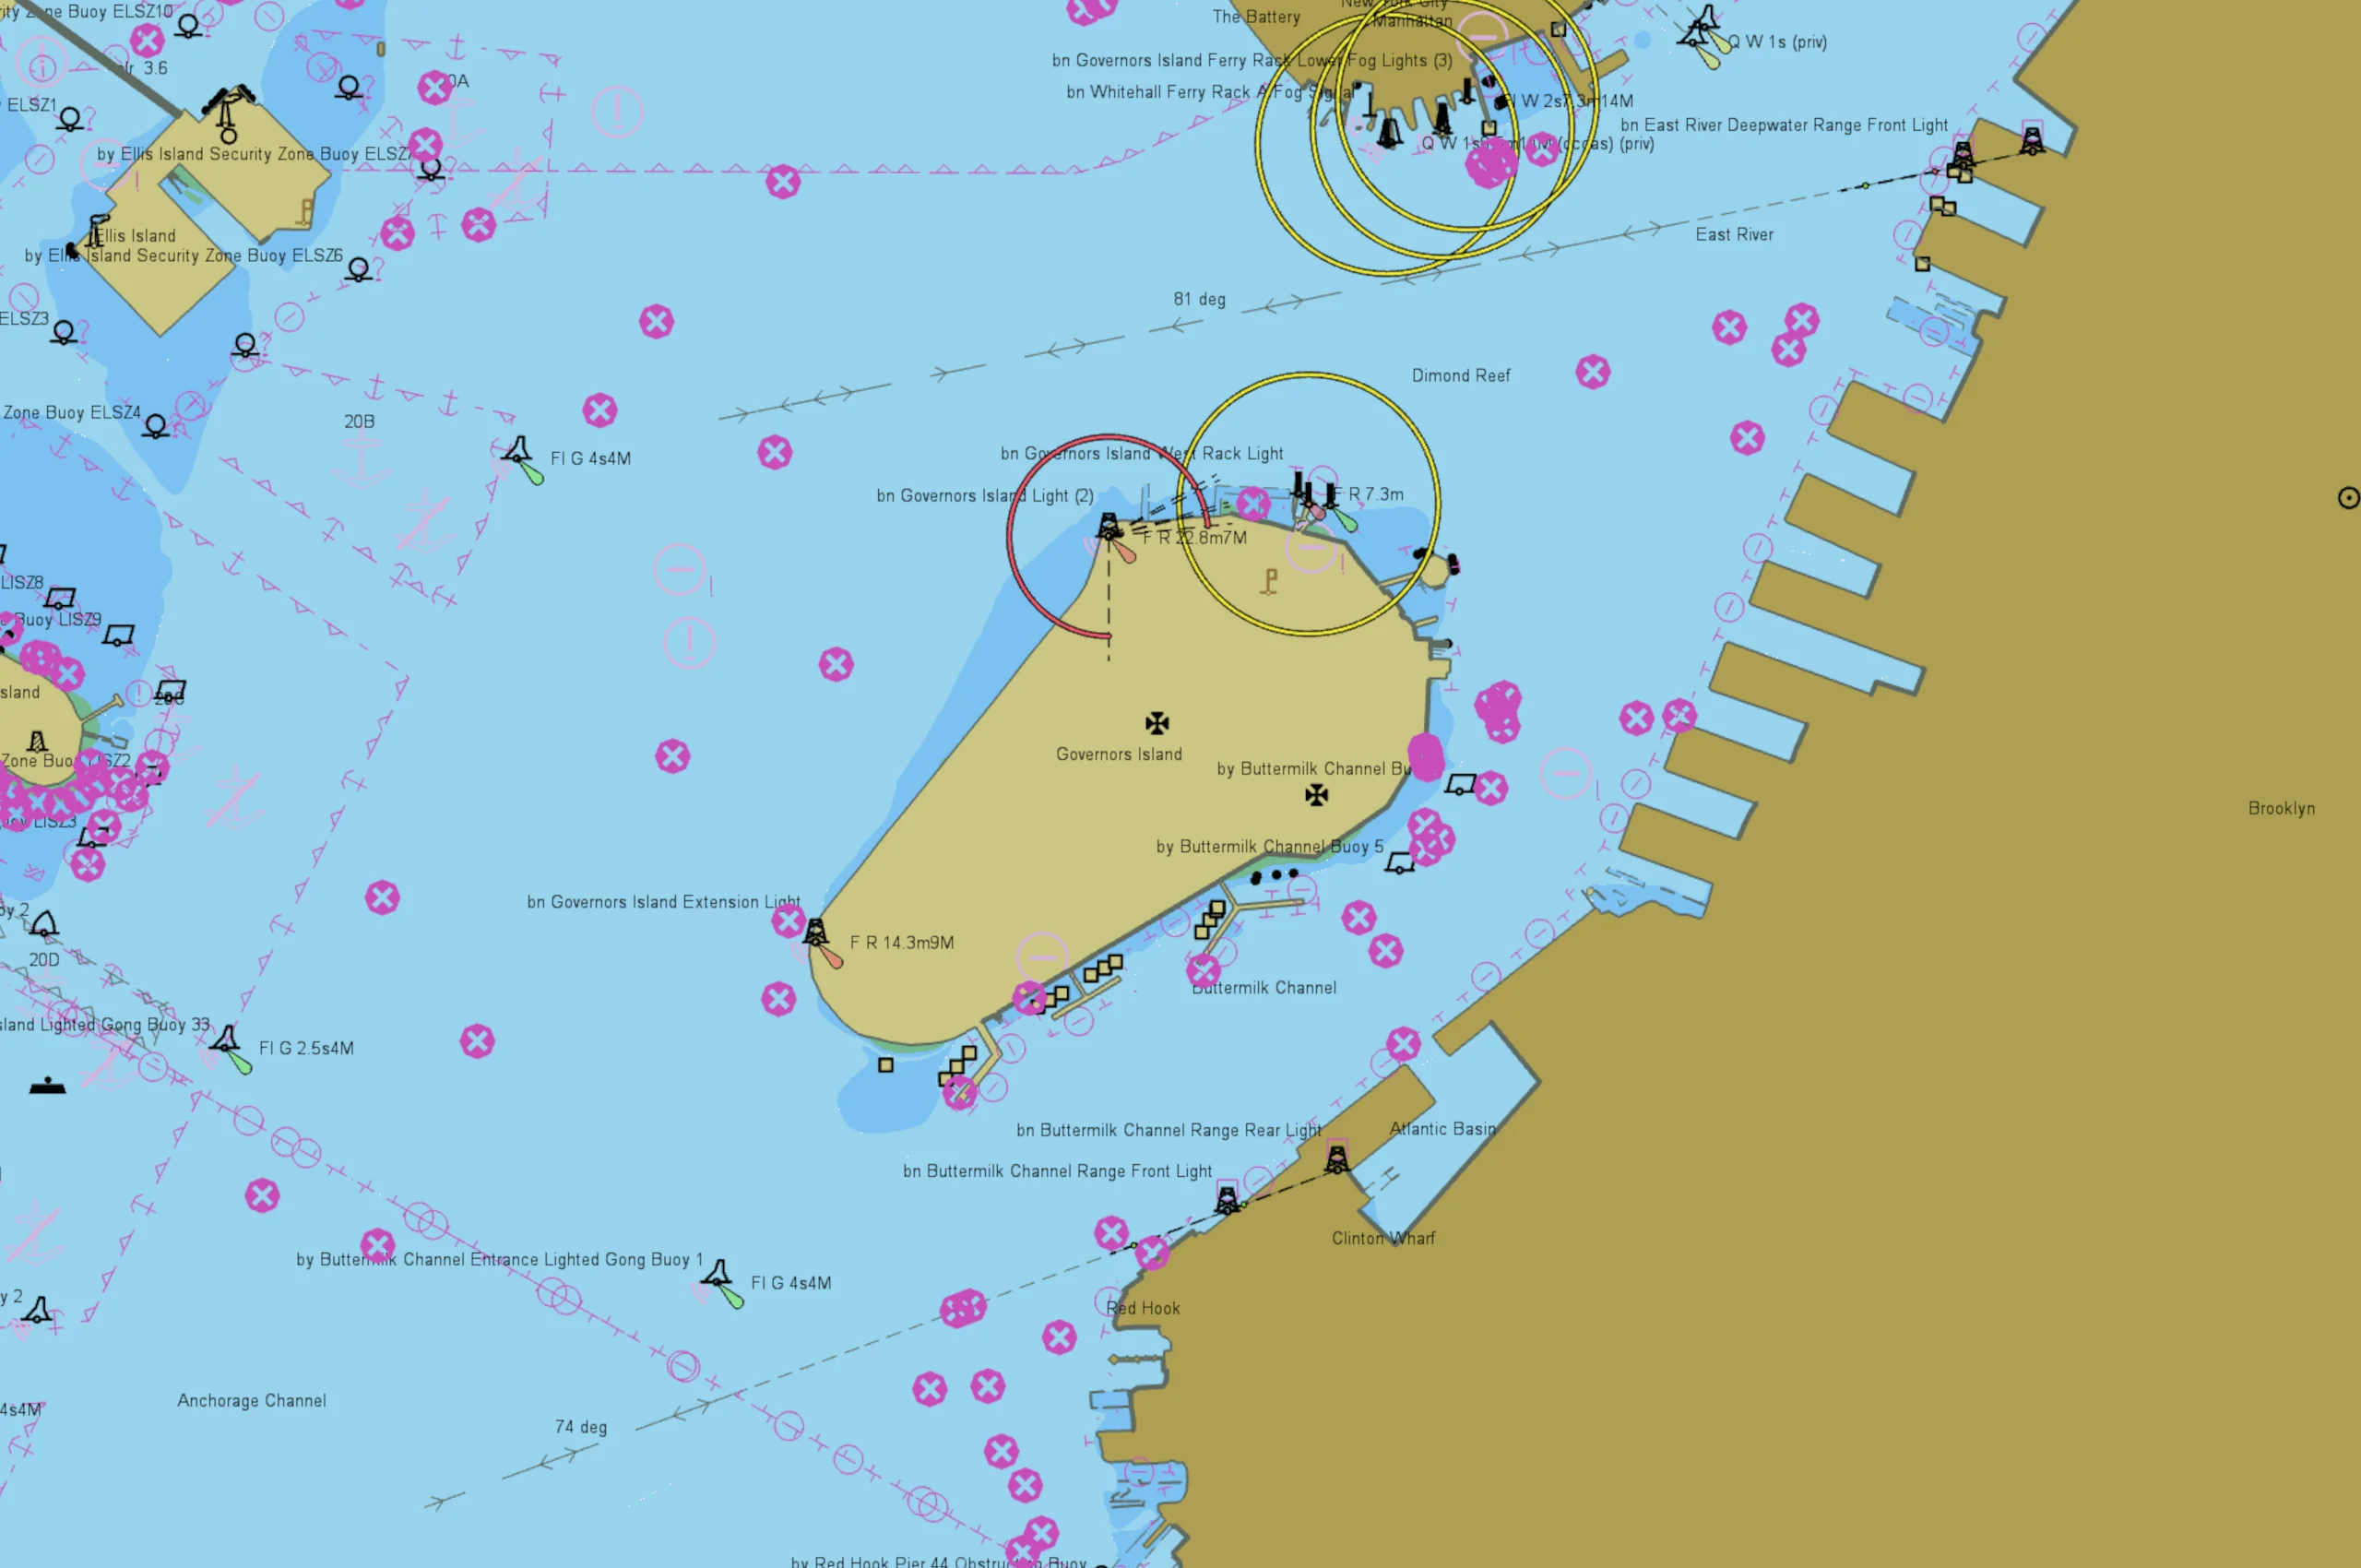
Nautical Charts introduction
Learn how to interact with nautical charts in Carmenta Engine: query S57DataSet features, filter visualizations, and update S52Visualizer properties.
View PostAugmented video applications allow developers to overlay geospatial information on video feeds, enhancing the user’s understanding of the environment. Using Carmenta Engine tools, it is possible to project georeferenced video frames on the ground in either 2D or 3D views and synchronize the camera with the real-world camera’s position to create a first-person perspective.
In this article, we will explore a practical implementation of this capability. But instead of projecting the video on the ground, we will use a third-party media player (Qt MediaPlayer) and overlay it with a Carmenta Engine MapControl. The MapControl‘s 3D camera will be synchronized with the real camera, enabling dynamic display of geospatial objects such as roads, buildings, text, or other critical information directly over the video feed.
The base example application used in this article is built using C++, Qt Quick 6.7 and Carmenta Engine 5.17.
Currently, using Carmenta Engine 5.17 alone is not enough to achieve the desired functionality. Custom versions of several Carmenta Engine headers are also needed.
Since not all projects rely on this specific combination of technologies, we will limit our focus on the Qt implementation to only aspects that include significant details.
The base application is composed of a media player to display the video and a Carmenta Engine MapControl overlay to render the map.
The painted area of the video may not always match the area covered by the media player, depending on the application and video resolution.
Ensure that the map control is sized to cover only the painted portion of the media player. Otherwise the map will be drawn beyond the painted area, causing the overlay to misalign.
To render a map overlay on top of the video, we need to attach a GlobeView to the MapControl. Proper configuration ensures the map elements are clearly displayed while maintaining the visibility of the video feed behind them.
To achieve this, the map must have a transparent background but still display elements like roads and 3D objects such as labels and zones.
Here are the key settings for configuring the GlobeView:
[0, 0, 0, 0][0, 0, 0, 0]TrueIn this configuration, we are setting the surfaceMaterial color to something transparent, this mean that features on surfaceMaterial will not be visible. To be able to see roads, lakes or any other information usually shown on surfaceMaterial, they will need to be moved to the GlobeView‘s layers and be elevated above ground using an ElevationOperator.
Additional data, such as elevation, labels, and other information, should be added to the configuration file in the same way as in standard map configurations.

With the application now capable of playing a video and displaying a map overlay, the next step is to synchronize the GlobeView camera with the video using metadata.
In our implementation, the metadata is provided via a CSV file that contains UAV parameters recorded during the video capture. The file includes timestamped values for camera parameters (such as gimbal pitch, yaw, and roll), as well as UAV location data (latitude, longitude, altitude) and other relevant metrics.
To maintain a seamless and synchronized overlay, the 3D camera parameters need to be updated regularly. In our case we achieve this by connecting the updateCamera method to the videoFrameChanged signal of the VideoSink associated with the MediaPlayer.
Each time the video frame changes, the application searches the metadata for the closest matching timestamp to update the camera parameters.
If an exact match isn’t available, the system interpolates between the nearest timestamps to ensure smooth and accurate alignment of the overlay with the video.
auto cameraPoint = Point(
metaData["OSD.longitude"].toDouble(),
metaData["OSD.latitude"].toDouble(),
metaData["OSD.altitude [m]"].toDouble()
);
globeViewPtr->cameraPoint(cameraPoint);
globeViewPtr->cameraBearing(metaData["GIMBAL.yaw"].toDouble());
globeViewPtr->cameraPitch(metaData["GIMBAL.pitch"].toDouble());
globeViewPtr->cameraRoll(metaData["GIMBAL.roll"].toDouble());
globeViewPtr->cameraAngle(metaData["CAMERA.fov"].toDouble());
globeViewPtr->update();
In some cases, the camera heading is based on magnetic north, while Carmenta uses true north. To improve the overlay accuracy, you can adjust the heading by accounting for the magnetic declination at the video location.
By combining a Carmenta Engine GlobeView with a video player, we managed to overlay geospatial data on top of a video, therefore enhancing our understanding of the environment. We successfully synchronized the GlobeView camera using video metadata, ensuring a smooth and dynamic overlay.
We learned how to configure a GlobeView to make the video behind visible and how to synchronize the camera using the video metadata. However, we need to keep in mind some limitations. This configuration will currently only work using custom Carmenta Engine headers. In order to display the overlayed video feed, surfaceLayers are rendered transparent, making them unusable to display data, but we can still use the GlobeView layers instead.
Further improvement could include display of more geospatial information, read live video and decode metadata directly from stream, improved overlay accuracy using computer vision or AI tools to compare features detected on the video with local geospatial data.
Learn how to interact with nautical charts in Carmenta Engine: query S57DataSet features, filter visualizations, and update S52Visualizer properties.
View Post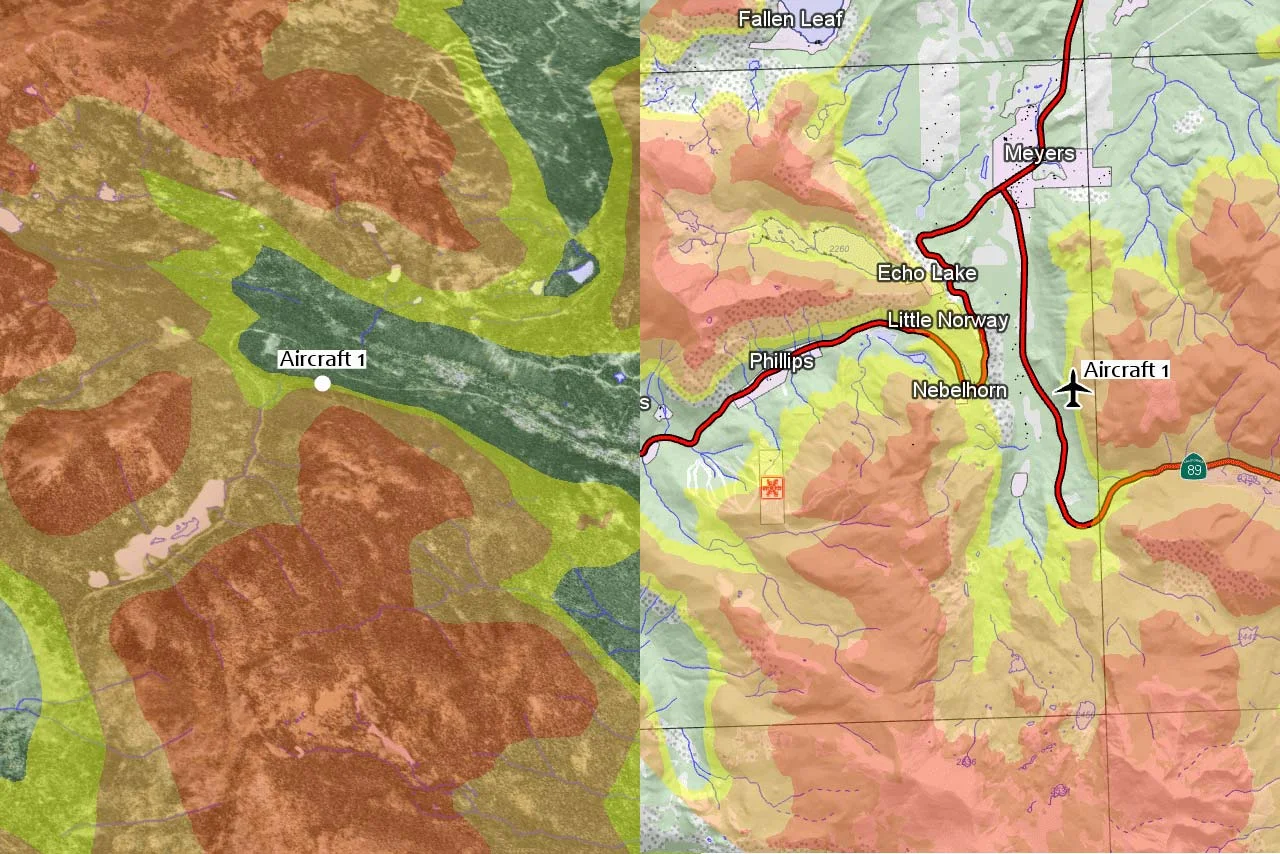
Learn how to configure terrain warning in 2D and 3D with Carmenta Engine using TerrainWarningOverlay and TerrainWarningOperator.
View Post