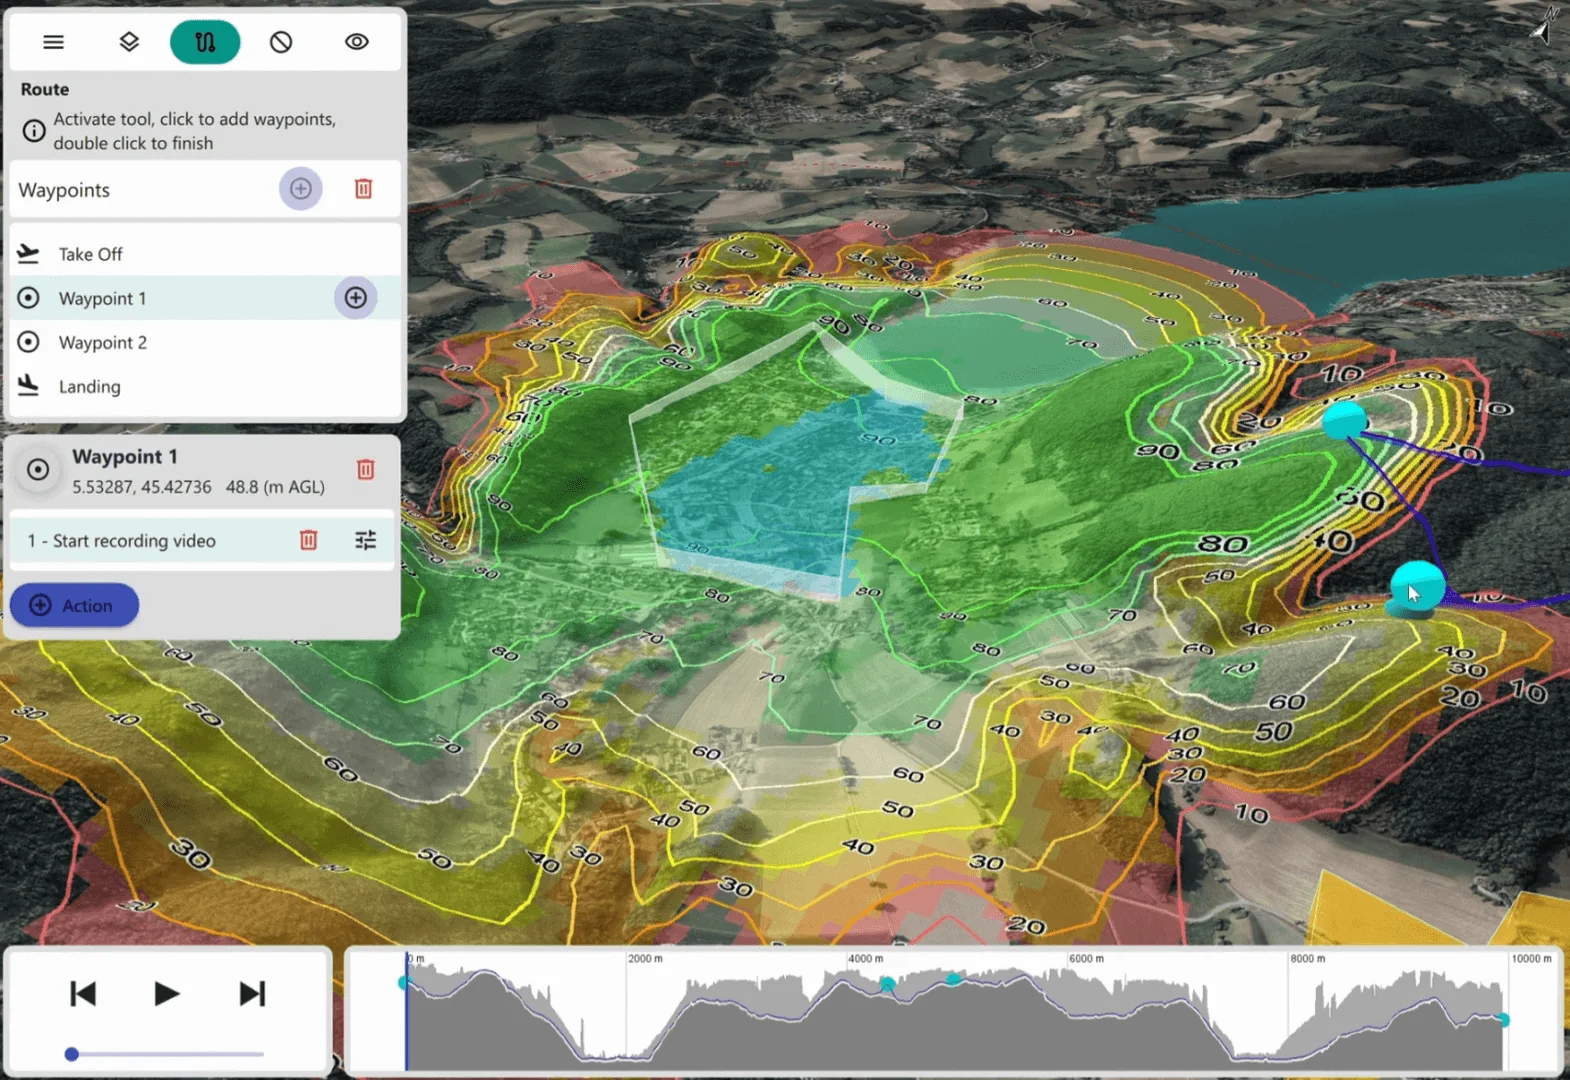
Carmenta Engine is a powerful software toolkit, designed for creating advanced geospatial systems. It provides a set of functionalities for software developers to create high-performance applications on different platforms, such as Windows, Linux and Android. In version 5.15 of Carmenta Engine, support is added for the Linux ARM platforms (64-bit), allowing developers to create and integrate geospatial applications on embedded systems.
The ARM architecture is a reduced instruction set computing (RISC) architecture for computer processors [1]. ARM processors have low power consumption and lower heat generation compared to other architectures (e.g., x86), which makes it desirable for light, portable and battery-powered devices (e.g., smartphones and embedded devices).
Building and deploying to Linux/ARM platforms
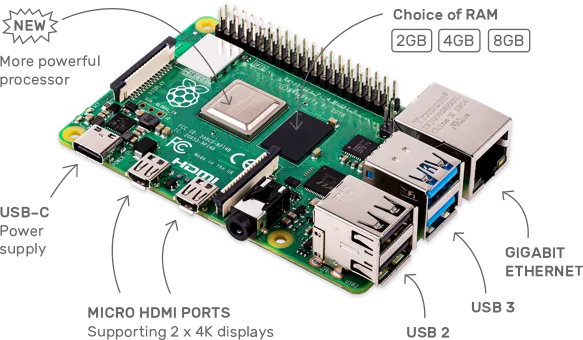
As discussed before, ARM processors are embedded in many kinds of devices. In this article, we will take the Raspberry Pi as the target device.
Raspberry Pi is a series of small general-purpose computers, originally designed for teaching computer science and electronics to young people. Due to its low cost, it is now used in different areas, such as robotics, weather monitoring, smart homes, and so on [2]. It can also be embedded in vehicles, where weight is sometimes an issue for the operation, such as for drones. Carmenta Engine supports 64-bit Raspberry Pi devices. Older 32-bit Pi models (Pi 1, Pi 2, original Pi Zero) are not supported.
Due to differences in their architectures, applications compiled to run on x86 Linux are not compatible with Linux ARM devices. Compiling an application for ARM requires a development kit on the native device, where you can write your code and build it directly on the Raspberry Pi, or a cross-compiler in a host computer. In this article, we will use a host computer with Ubuntu Operating System, which is a Debian-based OS like Raspberry Pi OS, to develop and build our application. Make sure that Carmenta Engine 5.15 or later for Linux is installed on your host machine, as well as the developer tools you need for your chosen language: GCC, GNU Make and CMake for C++; the .NET SDK for .NET Core; or a JDK for Java.
For the full list of host-side packages and tooling required for each language path, see the Carmenta Engine deployment guide for Linux/ARM.
Setting up Raspberry Pi OS
There are many different operating systems that can be installed on a Raspberry Pi. Traditional operating systems, such as Windows and Ubuntu, have their own versions for Raspberry Pi as well (Windows 10 IoT and Ubuntu Desktop). Carmenta Engine supports different Linux distributions, so you are free to choose your preferred one. In this article, we will take Raspberry Pi OS as the target operating system. This Debian-based OS has been provided by the Raspberry Pi Foundation as the default operating system for Raspberry Pi devices since 2015.
The easiest way to install Raspberry Pi OS to your target device is to install the Raspberry Pi Imager in your host computer (you can find the Imager for Windows, Linux and macOS). Once it is done, you can plug in an SD card and use the Imager to install the downloaded image. First, click on “Choose OS”, then click on “Raspberry Pi OS (other)” and select “Raspberry Pi OS (64-bit)”. Now click on “Select Storage” and select the SD card drive. Finally, click on “Write” and wait until the process finishes. Note that you will need an SD card with at least 16 GB storage capacity to install the full Raspberry Pi OS. You can use the Raspberry Pi OS Lite (64-bit) if you don’t plan to use any GUI within your application.
After the Imager is ready, connect the SD card into your Raspberry Pi and start it. The OS will start after the setup is done. The default username is “pi” and password is “raspberry”.
Building, deploying, and running
With Carmenta Engine 5.15, it is possible to build applications for Linux ARM using C++, .NET Core, or Java development toolkits (note that .NET Framework is not supported by any Linux platform). You can use the IDE of your choice to write the code of your application.
Once your application is built, copy the build output to the Raspberry Pi using a pen drive or SCP. The Pi also needs a Carmenta runtime license: copy your License.carmentakey file to /etc/Carmenta/ on the device before running any sample, otherwise the application will fail to start with a license error.
.NET Core
When writing an application using .NET Core, you can build your application by publishing your project through the dotnet publish command. Here’s an example to run from the same folder as your Solution file:
dotnet publish --runtime linux-arm64 --configuration Release --self-contained --output application_executable_name
For example, to publish the SimpleTileServer .NET Core project available in the Carmenta Engine Application samples (/usr/share/carmenta/samples/Applications/SimpleTileServer.tar.gz), run:
dotnet publish --runtime linux-arm64 --configuration Release --self-contained --output SimpleTileServer-linux-arm64

# Copy the Carmenta Engine SDK license for use as a runtime license key while developing
cp /etc/Carmenta/License.carmentakey SimpleTileServer-linux-arm64/data/License.carmentakey
This command outputs your application with all dependencies needed, including Carmenta Engine.
For .NET applications, dotnet publish exports all Carmenta Engine and .NET Core dependencies. However, you might need to install some native dependencies that the application uses. If you are trying to run the SimpleTileServer sample, you’ll need to install the following packages on the Pi:
sudo apt update && sudo apt install libcurl4 libfontconfig1
If you want to run the sample applications, the Carmenta Sample Geodata must be available on the device. You can install the packages from the Carmenta Product Downloads page, or copy them from your host machine and set the CARMENTA_ENGINE_5_15_GEODATA environment variable.
Copy the SimpleTileServer to the home folder (/home/pi/SimpleTileServer), then run the application. SimpleTileServer is configured to use HTTPS by default, which requires a development certificate that is not available on a fresh Raspberry Pi. The simplest workaround is to set ASPNETCORE_URLS to use plain HTTP on port 5000 before launching:
cd /home/pi/SimpleTileServer
# Set the LD_LIBRARY_PATH
export LD_LIBRARY_PATH=/home/pi/SimpleTileServer
# Use plain HTTP to avoid needing a dev certificate on the Pi
export ASPNETCORE_URLS=http://*:5000
# Run the application
./SimpleTileServer
After the application starts, the service is available on port 5000. If the Raspberry Pi is connected to the local network, you can reach the service from any device on the same network. Use a URL like http://<pi-ip>:5000/maps/ in your browser, replacing <pi-ip> with your Pi’s actual address.
Java
You can build and deploy Java applications from the IDE of your choice directly to the Raspberry Pi.
To run a Java application on the Pi, you will need to install the Carmenta Engine packages. Copy all packages with the _arm64.deb extension from your host /usr/share/carmenta/linux to the Pi device. Then open a terminal, navigate to the folder where the packages are located, and run:
sudo apt update && sudo apt install /usr/share/carmenta/linux/carmenta-engine_5.*_arm64.deb
C++
You cross-compile C++ applications for Linux/ARM from a host machine. The host setup involves several steps: configuring your package manager to fetch arm64 packages, installing the g++-aarch64-linux-gnu cross-compiler, and installing the Carmenta Engine arm64 development packages. The Carmenta Engine deployment guide for Linux/ARM walks through the full setup.
Once your host is set up, the HelloWorldX11 sample below ships with its own Makefile that you can use as a starting point for your own C++ applications. The Makefile expects CXX to be set as an environment variable rather than hardcoded inside it, so cross-compiling for Linux/ARM is just a matter of running CXX=aarch64-linux-gnu-g++ make instead of plain make.
To run a C++ application on the Pi, you will need to install the Carmenta Engine packages. Copy all packages with the _arm64.deb extension from your host /usr/share/carmenta/linux to the Pi device. Then open a terminal, navigate to the folder where the packages are located, and run:
sudo apt update && sudo apt install /usr/share/carmenta/linux/carmenta-engine_5.*_arm64.deb
Note that these steps will build a simple Carmenta Engine application without any user interface. If you plan to build a C++ application with a UI, you can either use X11 Window System or the Qt framework.
Example 1: HelloWorldX11
For example, to build the HelloWorldX11 sample (/usr/share/carmenta/samples/Applications/HelloWorldX11.tar.gz), first install the X11 development package for ARM64:
sudo apt install libx11-dev:arm64
Now unpack the HelloWorldX11.tar.gz and build it:
# Navigate to your home folder
cd ~
# Now copy the sample application
cp /usr/share/carmenta/samples/Applications/HelloWorldX11.tar.gz .
# Extract the project
tar -zxvf HelloWorldX11.tar.gz
# Navigate to the extracted folder and build it
cd HelloWorldX11
CXX=aarch64-linux-gnu-g++ make
Example 2: HelloWorldQtQuick
A sample application written in C++ and Qt is also available in the sample folder. Building the HelloWorldQtQuick sample needs Qt5 development packages on the host, for both x86_64 and arm64. The exact package names depend on your Ubuntu version, so check the Carmenta Engine deployment guide for Linux/ARM for what to install.
Once Qt5 is set up, copy and build the application:
# Navigate to your home folder
cd ~
# Copy the sample application
cp /usr/share/carmenta/samples/Applications/HelloWorldQtQuick.tar.gz .
# Extract the project
tar -zxvf HelloWorldQtQuick.tar.gz
# Navigate to the extracted folder and build it
cd HelloWorldQtQuick
aarch64-linux-gnu-qmake .
make
To run HelloWorldQtQuick on the Pi, you will also need to install the Qt runtime packages:
sudo apt install libqt5quick5-gles qml-module-qtquick-controls
Now you can run the application:
cd /home/pi/HelloWorldQtQuick
# Run the application
./HelloWorldQtQuick
References
[1] ARM, Why ARM CPU Architecture
[2] Raspberry Pi Foundation, Raspberry Pi