Next Post
QtQuick Map Application (Part 2) : Adding a Draw Control
In this tutorial, we will add a DrawControl to the application allowing users to add tactical symbols as well as basic shapes to the map.
View Post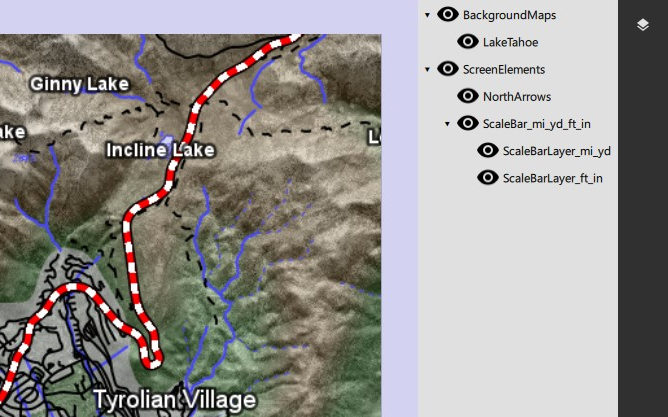
In this tutorial, the first part in a series of three, you will learn how to modify the existing QtQuick sample and add a LayerControl to it.
We will replace the QML form to have a collapsible side panel, allowing to display a layer tree. The layer control will be populated from code through a model and will allow toggling on and off layers from the UI.
The extra resources needed to complete this tutorial, as well as the complete extended application, can be found here: QtQuickAppWithLayerControl.zip
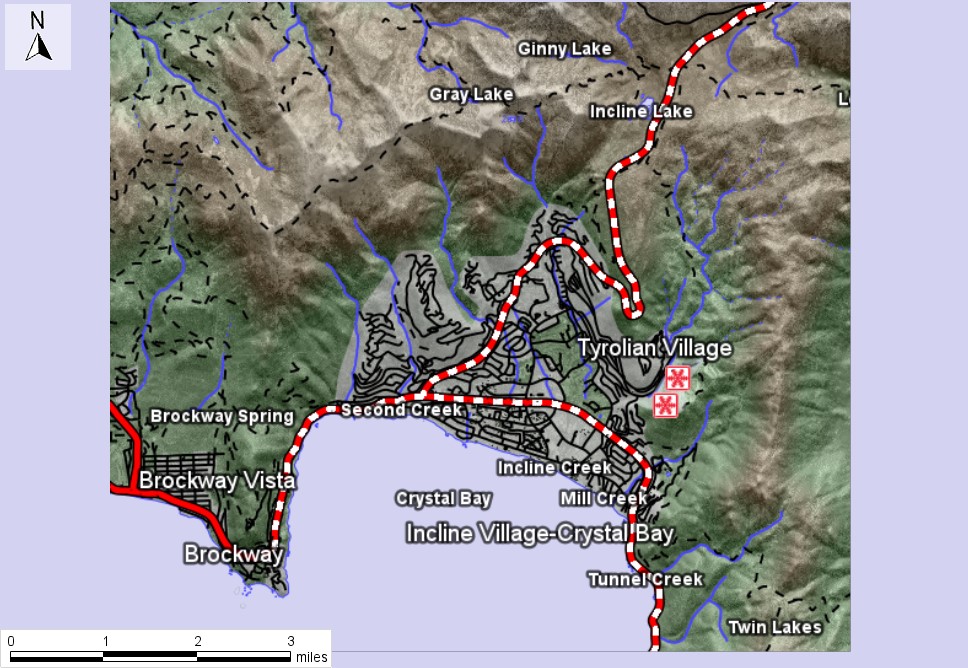
Here’s what our starting point, the HelloWorldQtQuickSample, looks like:
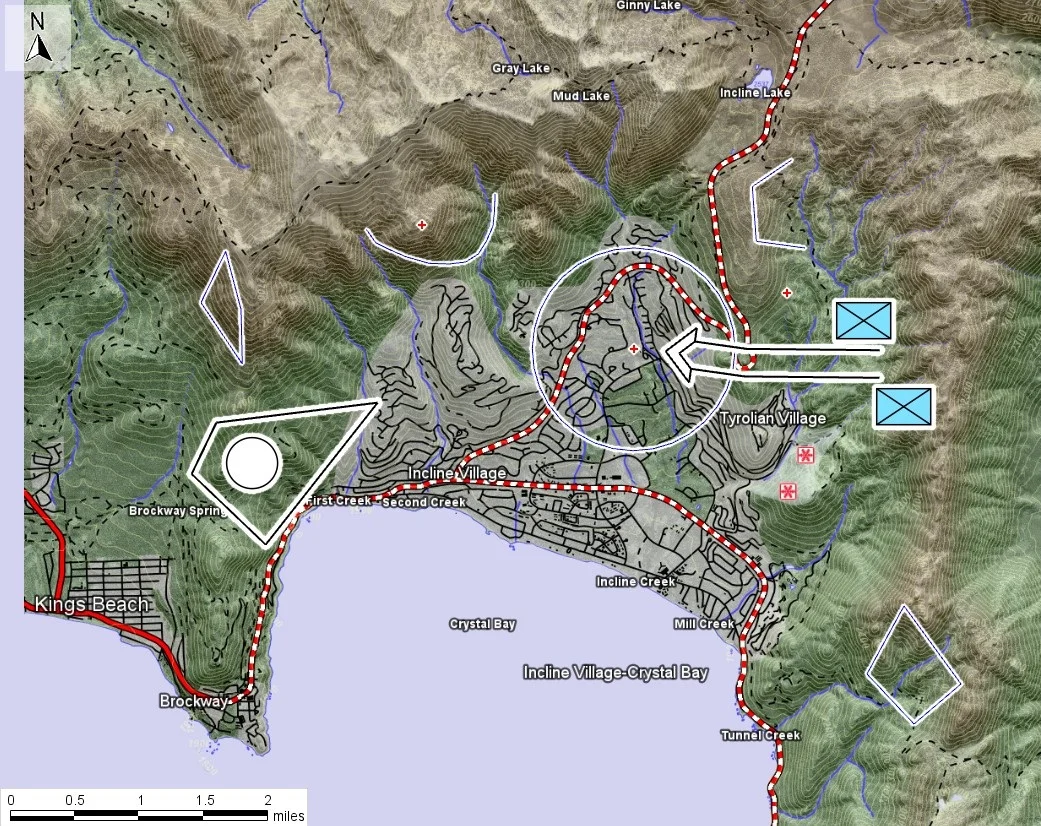
And here’s the modified application at the end of this article:
First, let’s swap the existing main.qml with the provided one. It now contains a side panel that can be expanded to display our layer control as well as a list of buttons to draw features on the map, which you will see in a later article.
The new form needs some icons, so let’s make sure to copy the corresponding files to your folder and add them to the project file CMakeLists.txt. The required files are:
eye.svg
eye-off.svg
layers.svg
pencil.svg
Below is what the QML code looks like. Note that this uses the QML TreeView type available since Qt 6.3. Feel free to experiment with the sample!
// QML TreeView
TreeView {
    anchors.fill: parent
    // The model needs to be a QAbstractItemModel
    model: layerModel

    delegate: Item {
        id: treeDelegate

        readonly property real rowIndex: row
        readonly property real columnIndex: column

        implicitWidth: padding + label.x + label.implicitWidth + padding
        implicitHeight: label.implicitHeight * 1.7

        readonly property real indent: 20
        readonly property real padding: 5

        // Assigned to by TreeView:
        required property TreeView treeView
        required property bool isTreeNode
        required property bool expanded
        required property int hasChildren
        required property int depth

        TapHandler {
            onTapped: treeView.toggleExpanded(row)
        }

        Text {
            id: indicator
            visible: treeDelegate.isTreeNode && treeDelegate.hasChildren
            width: treeDelegate.indent
            x: (treeDelegate.depth * treeDelegate.indent)
            padding: 8
            anchors.verticalCenter: label.verticalCenter
            text: "▸"
            rotation: treeDelegate.expanded ? 90 : 0
        }
        CheckBox {
            id: control
            width: treeDelegate.indent
            x: (treeDelegate.depth + 1) * treeDelegate.indent
            checked: model.checkState
            hoverEnabled: false
            background: Rectangle {
                color: alternateColor
            }
            anchors.verticalCenter: parent.verticalCenter
            indicator: ColorImage {
                x: (parent.width - width) / 2
                y: (parent.height - height) / 2
                source: control.checkState === Qt.Checked ? "eye.svg" : "eye-off.svg"
            }
            onCheckedChanged: {
                layerModel.onCheckedChanged(model.treeIndex, checked)
            }
        }
        Text {
            id: label
            x: treeDelegate.padding + (treeDelegate.isTreeNode ? (treeDelegate.depth + 2) * treeDelegate.indent : 0)
            width: treeDelegate.width - treeDelegate.padding - x
            clip: true
            text: model.display
            anchors.verticalCenter: parent.verticalCenter
        }
    }
}
The QML handles styling of the TreeView but also provides hooks the code can attach to, in order to provide the data model used to populate the tree as well as application logic when interacting with the items. Let’s have a closer look at a couple lines.
// Model binding
model: layerModel
This lets us create our LayerModel class in code, implementing QAbstractItemModel, and provide it to the QtQuick context. For simplicity, this example will subclass QStandardItemModel.
// Two-way binding
checked: model.checkState

onCheckedChanged: {
    layerModel.onCheckedChanged(model.treeIndex, checked)
}
These lines allow a two-way binding between the model and the checkbox delegates symbolizing our tree nodes and leaves. The first line reflects the model values in the UI while the second one forwards user changes to our model.
If we try running the sample at this stage, we will run into the following error: “qrc:/main.qml:44: ReferenceError: layerModel is not defined”. This error comes from layerModel being referenced without being defined, as it will be provided from code.
However, for educational purposes, we can simply comment out the line and see the outcome, which is an empty layer control.
![]()
Let’s create a LayerModel instance, so we can set it as a context property. We will subclass QStandardItemModel, and set a Layer pointer as data to QStandardItems by registering our pointer as a QMetaType. Let’s create two files: layercontrol.h and layercontrol.cpp.
// layermodel.h
// Model class inheriting from QStandardItemModel.
class LayerModel : public QStandardItemModel
{
    Q_OBJECT

public:
    void initialize();

    Q_INVOKABLE void onCheckedChanged(const QModelIndex& index, const bool checked);
    Q_INVOKABLE bool isChecked(QModelIndex index);

    enum LayerModelRoles{
        LayerRole = Qt::UserRole + 1,
        TreeIndexRole
    };

protected:
    virtual QHash<int, QByteArray> roleNames() const;

private:
    void addChildLayerNodes(LayerCollectionPtr layerSet, QStandardItem* rootNode);
};
The context property needs to be set before loading the source QML using the QQmlApplicationEngine. However, it is also necessary for our QQmlApplicationEngine to have been initialized in order to retrieve the QQmlContext. Therefore, we will create the layer model and initialize it after our controller is initialized, so we can access the Carmenta Engine View and its layers.
// LayerModel initialization
// Initialize the application's GUI.
QQmlApplicationEngine engine;
const QUrl url("qrc:/HelloWorldQtQuick/main.qml");
QObject::connect(&engine, &QQmlApplicationEngine::objectCreated,
                &app, [url](QObject *obj, const QUrl &objUrl) {
    if (!obj && url == objUrl)
        QCoreApplication::exit(-1);
}, Qt::QueuedConnection);

// Create a layer model before loading the QML
LayerModel model{};
QQmlContext* ctxt = engine.rootContext();
QStandardItemModel* itemModel = &model;
ctxt->setContextProperty("layerModel", itemModel);

engine.load(url);
if (!engine.rootObjects().isEmpty())
{
    // Connect the QML scene with the controller singleton.
    QList<QObject*> rootObjects = engine.rootObjects();
    Controller::instance().initialize(rootObjects.first());
    model.initialize(); // This populates the layer model

    // Show application and wait for it to exit.
    result = app.exec();
}
Now, when we run the application, the context is being provided, however empty. Let’s first add two utility methods to our controller:
ViewPtr view() to access the view (as we will need to access its layers)void updateView() to update the view through the mapControl, which is needed after enabling or disabling a layer.Utility methods in controller.h
Carmenta::Engine::ViewPtr view()
{
return mapControl->view();
}
void updateView()
{
return mapControl->updateView();
}
Finally, let’s populate our model. In the initialize method, you can retrieve the layers from the view through the controller. Then, it is possible to call addChildLayerNodes which will go through the layers recursively, create items, and add them to the correct place in the tree.
Layer model initialization
void LayerModel::initialize()
{
    ViewPtr view = Controller::instance().view();
    addChildLayerNodes(view->layers(), this->invisibleRootItem());
}

QHash<int, QByteArray> LayerModel::roleNames() const
{
    QHash<int, QByteArray> result= QStandardItemModel::roleNames();

    result[Qt::CheckStateRole] = "checkState";
    result[LayerRole] = "layer";
    result[TreeIndexRole] = "treeIndex";

    return result;
}
Let’s have a look at how we can initialize our model with the view’s layers. In the addChildLayerNodes method, our nodes and leaves are represented by QStandardItems, with a Layer as data. LayerSets, inherited by TileLayers, will correspond to group nodes and other layers, mainly OrdinaryLayers, to leaves. The LayerPtr will be stored and accessed through the data member of the QStandardItem class. The recursive function takes all children of a layer and the corresponding node, appends them to said node and recursively runs the function on all children layers if they have children of their own. Each QStandardItem receives the display name, or regular name as default, of the layer and a pointer to the layer. Its checkState will also get set depending on the layer’s enabled state.
Population LayerModel
void LayerModel::addChildLayerNodes(LayerCollectionPtr layerSet, QStandardItem* rootNode)
{
    // Iterating on all children of the current node. All the children are on the same level.
    for (uint32_t i = 0; i < layerSet->size(); i++)
    {
        LayerPtr layer = layerSet->get(i);
        QStandardItem* layerItem = new QStandardItem(0);

        AttributeValue attr;

        String name = layer->name().c_str();
        String displayName = layer->displayName().c_str();
        if (displayName != " " && displayName != "")
            name = displayName;
        layerItem->setText(name.c_str());

        QVariant data;
        data.setValue(layer);
        layerItem->setData(data, LayerRole);

        layerItem->setToolTip(layer->description().c_str());

        rootNode->appendRow(layerItem);

        // Store index to make it accessible in QML
        layerItem->setData(layerItem->index(), TreeIndexRole);

        layerItem->setCheckable(true);
        layerItem->setCheckState(layer->enabled() ? Qt::Checked : Qt::Unchecked);

        // If the current child can be cast to a LayerSet (which layers with several children inherit from), the function is run again on its children.
        LayerSetPtr cLayer = dynamic_cast<LayerSet*>(layer.get());
        if (cLayer != 0)
            addChildLayerNodes(cLayer->layers(), layerItem);
    }
}
It is then possible to communicate the checkState status of each item through the isChecked method. The QStandardItem can be retrieved by using the QStandardItemModel::itemFromIndex method on the QModelIndex. An element will only be retrieved if it has a valid model index.
Forwarding model states to the UI
bool LayerModel::isChecked(QModelIndex index)
{
    // Root element's index is invalid.
    // Default value is false but it doesn't matter as it isn't visualized.
    if (index.isValid())
        return this->itemFromIndex(index)->checkState() == Qt::Checked;
    return false;
}
Finally, whenever the user interacts with a layer, the corresponding layer should be toggled as well as its corresponding checkState. This is done by setting the checkState and accessing the layer through its pointer stored in the QStandardItem::data() member.
After toggling the layer, which is a thread-safe operation meaning you don’t need to use any Guard, don’t forget to update the view to reflect the changes.
Registering user changes in the model
void LayerModel::onCheckedChanged(const QModelIndex& index, const bool checked)
{
    // Get the LayerItem corresponding to the model index.
    QStandardItem* layerItem = this->itemFromIndex(index);
    if (!layerItem)
        return;

    // Keeping the model in sync with the UI
    layerItem->setCheckState(checked ? Qt::Checked : Qt::Unchecked);

    // Toggle the layer enabled state
    LayerPtr layer = layerItem->data(LayerRole).value<LayerPtr>();
    layer->enabled(checked);

    // Update the view.
    Controller::instance().updateView();
}
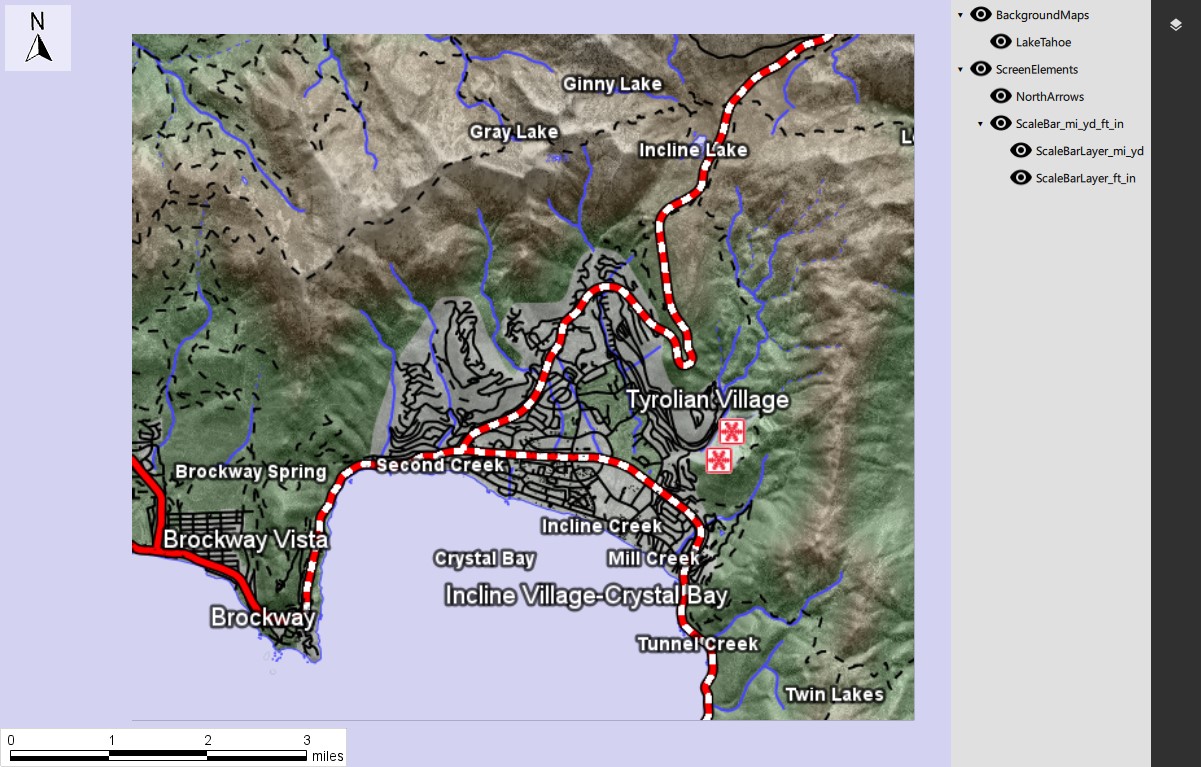
We have now extended our application sample with a layer panel to control the layers of our map. Launch the application to see the result of the first part of the QtQuick article series.
In this tutorial, we will add a DrawControl to the application allowing users to add tactical symbols as well as basic shapes to the map.
View Post
Learn how to use dynamic runtime condition variables in Carmenta Engine to control map behavior and styling based on real-time application parameters.
View Post