Next Post
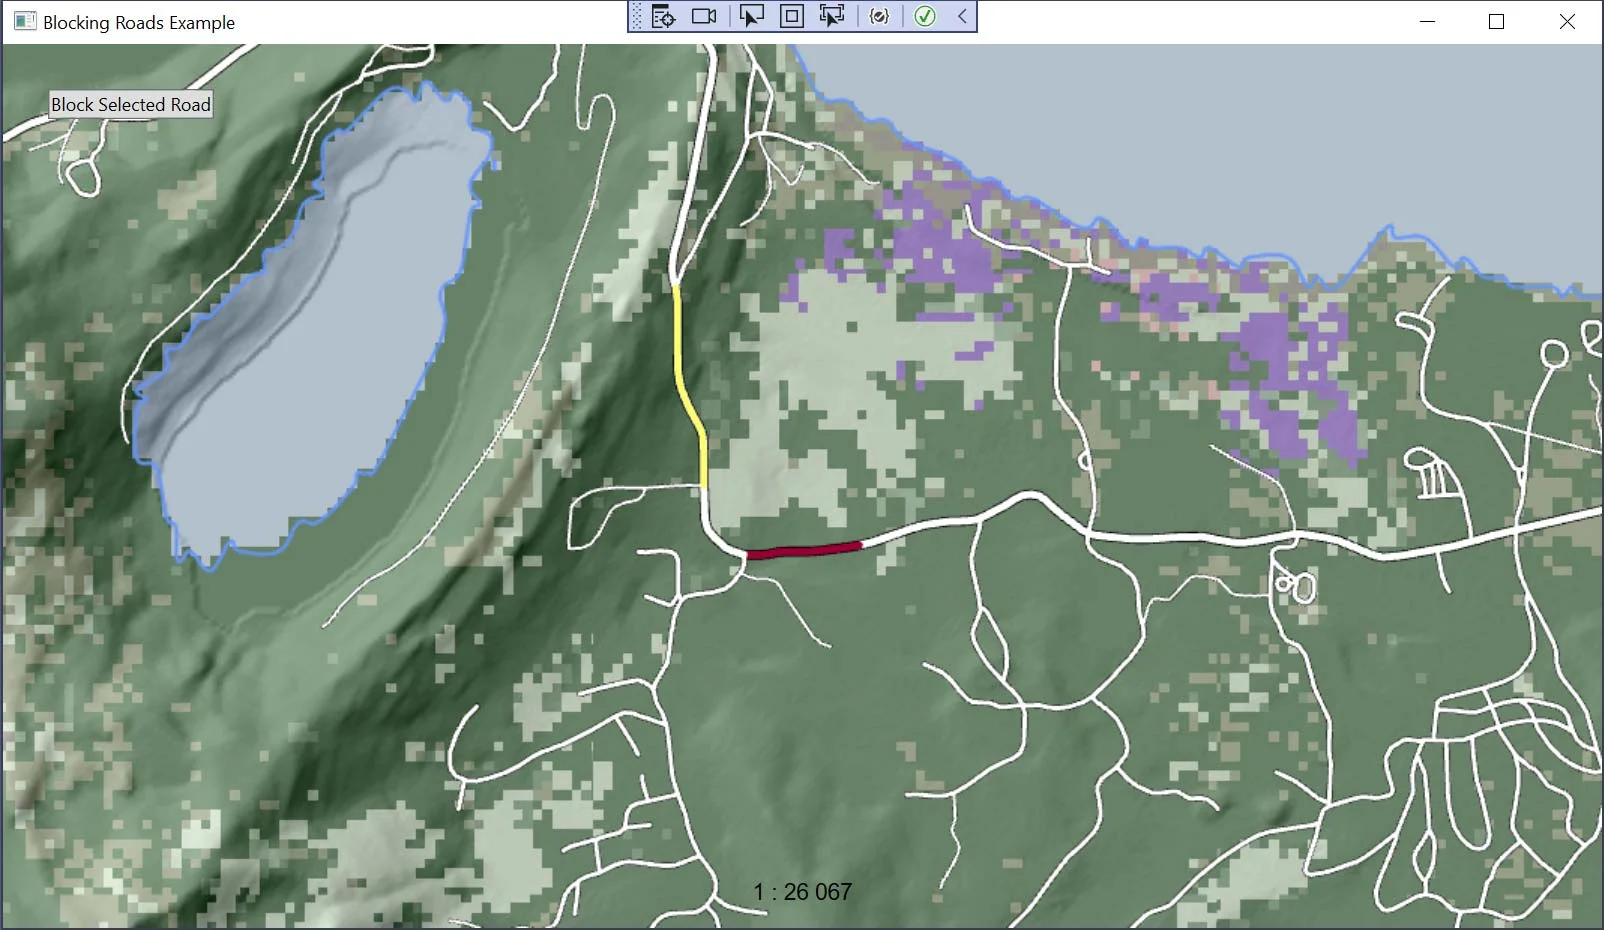
Dynamic Runtime Condition Variables
Learn how to use dynamic runtime condition variables in Carmenta Engine to control map behavior and styling based on real-time application parameters.
View Post
Carmenta Server Core is the containerized version of Carmenta Server, using OS-level virtualization and Docker to enable fast application development and deployment to any type of environment – desktop, cloud or in-house data centers.
In this article we will describe how one could work with Carmenta Server Core locally to develop a set of OGC® compliant map services and deploy the resulting container on the Microsoft Azure App Service PaaS platform. We will touch upon topics such as:
To follow along with this article you will need a couple of things in your development environment:
Let’s say you want to develop a server-side application that you intend to deploy to several types of target infrastructure; one customer uses Windows Server, another one Ubuntu Linux machines and a third one intends to deploy the application to a platform as a service (PaaS) managed by a cloud service provider. For each customer, there could potentially be enormous overhead to managing the infrastructure itself, in addition to managing the development environment for the development team. This includes making sure the correct runtimes are installed, such as Node.js, .NET Runtime or JRE, as well as installing suitable web and reverse proxy servers for each operating system such as IIS, nginx or Apache Server.
Containerization can help minimize this overhead by enabling the deployment of applications as standardized software units which encapsulate the code, binaries and dependencies necessary to run the application. This abstracts away these potentially complex parts and enables deployment to any supported container runtime environment. Using Docker we can achieve just that, and we could even deploy containerized Linux applications to a Windows environment, giving us great flexibility as developers.
Docker provides a set of tools and a platform to build and deliver these applications in a sort of package called images. These images are used as a template to instantiate a running instance of the application which is called a container. Since Docker uses OS-level virtualization, multiple containers can simultaneously run on the same host as isolated processes with very little overhead in terms of resource consumption.
Currently, Carmenta Server Core is delivered in two versions, each built on a different base image. There’s one image based on Ubuntu and one based on CentOS. In this article we will continue using the Carmenta Server Core Ubuntu base image.
Assuming you have access to the Carmenta Server Core Ubuntu zip archive, start by unpacking that archive somewhere on your disk. When prompted for a password, provide the password that was provided to you upon receiving the zip archive. The resulting unpacked archive should contain another compressed .tar archive. This is the base image which we will load using the Docker CLI. Using a command line such as PowerShell while standing in the directory of the .tar file, type:
docker load --input .\carmentaserver-2021.0.1-ubuntu.tar
This will load the Docker image so that we can manage it further on our development environment using the Docker tools. Make sure the image is visible by Docker by typing:
docker image ls
This should display a list of available images with some additional information such as repository name, tag, id, etc. In there should be an image called carmentaserver:2021.0.1-ubuntu.
Let’s do a first attempt at running a container just to see what we get. Do this using the Docker CLI by typing the following in a command line:
docker run carmentaserver:2021.0.1-ubuntu
This will start the container and attach the standard input/output streams to the container instance so that you can see the application logging directly in the terminal window. What you will see is that the startup sequence will eventually fail, but there will be some key pieces of information in there that will help us get up and running. Towards the end of the log you will see the following lines:
...
checking license file /usr/share/carmenta/serverLicense/server.carmentakey
License issue: No license found.
Unable to create Map Server instance. Exiting process. Message: Exception has been thrown by the target of an invocation.: No license found.
telling us that there was no license file present to start the Carmenta Server Core instance. The log is telling us that the path /usr/share/carmenta/serverLicense/server.carmentakey is used to look up a license file. This has to be a valid path available inside our container or on a mounted volume. To easily manage external dependencies such as license keys or configuration files it can be quite convenient to use a mounted volume to make these accessible from the host inside the Docker container.
On your development machine, create a new directory, such as C:\cscore\license, place the license file you’ve received in that folder, and make sure it is named server.carmentakey. Now let’s start the container with the addition of a mounted volume using the -v argument flag:
docker run -v C:\cscore\license\:/usr/share/carmenta/serverLicense/ carmentaserver:2021.0.1-ubuntu
This will effectively expose the contents in the host directory C:/cscore/license/ to the container at the location /usr/share/carmenta/serverLicense/ and the container will be able to start as intended.
With the container running, the next step would be to access the application hosted inside the container. By default, Docker uses the principle of least privilege to limit the exposure surface of any applications. This means that we must explicitly configure how the application is exposed to the outside world. In the context of a web application this likely means exposing whatever HTTP port the application is running on, which in our case is the default port 80. To achieve this we will need to add one more argument to our docker run command. We can expose this port from outside of the container with the -p argument flag like this:
docker run -p 8888:80 -v C:\cscore\license\:/usr/share/carmenta/serverLicense/ carmentaserver:2021.0.1-ubuntu
After running this command, visit http://localhost:8888/MapService/ and you should encounter the web interface for the Carmenta Server Core service list.
At this point we’ve covered some very important concepts and practices that will help us to further extend and configure Carmenta Server Core with map services and eventually deploy it to Azure App Services.
By downloading this compressed library you will get access to a directory with a Carmenta configuration file and a tiny set of geodata which can be published as a service by Carmenta Server. To achieve this we will have to expose the contents of the catalog to the Carmenta Server Core container, which can once again be done through a mounted volume.
We previously created the directory C:\cscore\ and the license sub-directory. Extract the catalog.zip directory in C:\cscore\ so that you will have the path C:\cscore\catalog\ available on your system.
To tell Carmenta Server Core to look for configuration files, we have to mount the host directory C:\cscore\catalog\ to the directory where Carmenta Server Core will search for configuration files to publish as services. The default path where Carmenta Server Core will look for configuration files is /usr/share/carmenta/catalog. So by mounting the catalog directory on the host machine to this directory in the container we can publish the contents.
Simply add the following to the previously executed Docker CLI commands:
-v C:\cscore\catalog:/usr/share/carmenta/catalog/
or fully:
docker run -p 8888:80 -v C:\cscore\license\:/usr/share/carmenta/serverLicense/ -v C:\cscore\catalog:/usr/share/carmenta/catalog/ carmentaserver:2021.0.1-ubuntu
Now visit http://localhost:8888/MapService/ and you will see that there’s a new item in the service list.
At this point we have Carmenta Server Core running locally with a map service published. A natural next step would be to make this available for a larger audience by hosting it on a generally available server. This could, of course, be done on a physical in-house server or a server hosted by a cloud service provider. For this example we will show how one could deploy Carmenta Server Core to Microsoft Azure and host a container instance using the platform as a service offering called App Service.
App Service abstracts away a lot of the administrative tasks which are associated to managing servers and makes it easy to deploy any type of application. In this section we will see how we can:
Start by logging in to your Azure portal using required subscription information. Thereafter, we want to start by creating a new resource group which will act as a logical grouping of our individual resources for hosting the application.
From the start page, locate or search for the Resource Group alternative. Click it and create a new resource group. Choose your subscription, a suitable name and the region:

Press Review + create to finish the creation process.
Next, we want to create a storage account. Locate the storage account, choose the create option and give the necessary information for the new account. Remember to create the account in the recently created resource group and give it a descriptive name:

In this case, the default options are kept for everything except the resource group and the storage account name. Click Review + create to create the storage account.
In the recently created storage account, we want to create two new file shares; one for the license file and one for the catalog directory. Click the storage account to access further options for that resource type and locate the Data Storage section in the menu on the left-hand side. Press File Shares and then click the +File Share button. Give it a name, such as fs-license-cscore and fs-catalog-cscore. Create both file shares using the default settings.
Next up, let’s create our private container registry where we will host our docker images. By using a private registry, we can manage Docker images within our organization without exposing them publicly on Docker Hub.
Search the Azure portal for Container Registry and press create. Select the subscription and the previously created resource group. Give it a valid name and select a location and SKU. Below is the information used for this tutorial:

Create the registry and wait for it to complete. Upon completing, click the registry and go to Access Keys in the Settings section and enable the Admin user setting. This will generate credentials for accessing the registry.
Next, we want to push our local Carmenta Server Core image to the newly created Azure registry. This is done by first logging in to the Docker registry by typing the following in a console window:
docker login <registry name>.azurecr.io
where <registry name> should be replaced with the name you specified in the creation of the container registry, in this case regcscore. This will prompt a login for the registry. Use the information previously created in the Access Keys section.
To push the image to the registry we will first have to tag it. Tell docker which registry it belongs to by typing:
docker tag carmentaserver:2021.0.1-ubuntu regcscore.azurecr.io/carmentaserver
where regcscore.azurecr.io/carmentaserver is the new tag for the image. We then push it to the registry by typing
docker push regcscore.azurecr.io/carmentaserver
This might take some time. Let the upload process finish, then go to the Repositories area for your Container registry in the Azure portal. In there should be a new repository called carmentaserver.
Finally, we will create the App Service Plan and the App Service that will host the Carmenta Server Core container. The App Service plan manages the compute resources available for individual App Services within it. In this case we will create an App Service Plan of the B2 tier with 3.5GB available memory and 2 cores.
Search the Azure Portal for “App Services” and click the create button. Once again, select the subscription and the resource group similarly to the previous steps. In the Instance Details section, give the App Service a name, such as app-cscore. For the publish option, select Docker Container and the operating system Linux. Select a suitable region, such as North Europe.
In the App Service Plan section we will create a new App Service Plan by clicking Create New for the Linux Plan option. Give it a new name, such as app-cscore. For Sku and size, press change size. In the dialog-slideout go to the Dev / Test tab and expand the options list by pressing the See additional options button. Select the B2 option and press apply. The dialog should look similar to this, depending on the name and region chosen:

Next up, we want to specify the Docker settings. Navigate to the Docker tab by clicking the Next: Docker > button. Select the Single Container option and the image source to be Azure Container Registry. Then adjust the registry option by selecting the recently created and uploaded image from your registry:

Then click create to create the app service.
The deployment might take a little while but once done you can navigate to the App Service for further configuration.
Once you’ve navigated to the newly created App Service, locate the Configuration options in the Settings section of the menu. Go to the Path mappings section in the Configuration view and press New Azure Storage Mount.
First create a mount for the license file share:

The mount path corresponds to the same path as we previously specified for the container running locally. Do the same for the catalog file share:

When both path mappings are specified, click save and let the App Service restart if required.
The last step on our journey is uploading the license file and map service configuration together with the geodata. There are many ways of doing so, but we will use the web interface. Navigate to the storage account and click the File Shares option to list the two file shares. Click the fs-license-cscore share and locate the Upload option. Use the dialog to upload the license file to the file share.
Then navigate to the second file share, fs-catalog-cscore, and upload the entire content of the local catalog at C:cscorecatalog. Note, that it’s not possible to upload directories, only a list of items, so you might have to do this in two steps.
At this point, we’ve set up all the required dependencies for Carmenta Server Core running on Azure App Service. Simply navigate to the App Service in the Azure portal and find the Browser button and press it. This will take you to the index path of your application, which doesn’t contain any content and will likely give a 403 Forbidden response. Instead navigate to /MapService to view the service list, and you should see the following:

In case you’re not seeing the service list you might have to restart the App Service so that Carmenta Server Core will reboot and load the license file correctly. It might take a few minutes for Carmenta Server Core to start up entirely.
We’ve just deployed a Carmenta Server Core Docker container to Azure App Service and touched upon some important topics for working with containerized applications. There are of course many different potential workflows and ways of going about doing this and what we’ve seen here is just scratches the surface of some rather broad topics. For further reading please see:
Learn how to use dynamic runtime condition variables in Carmenta Engine to control map behavior and styling based on real-time application parameters.
View Post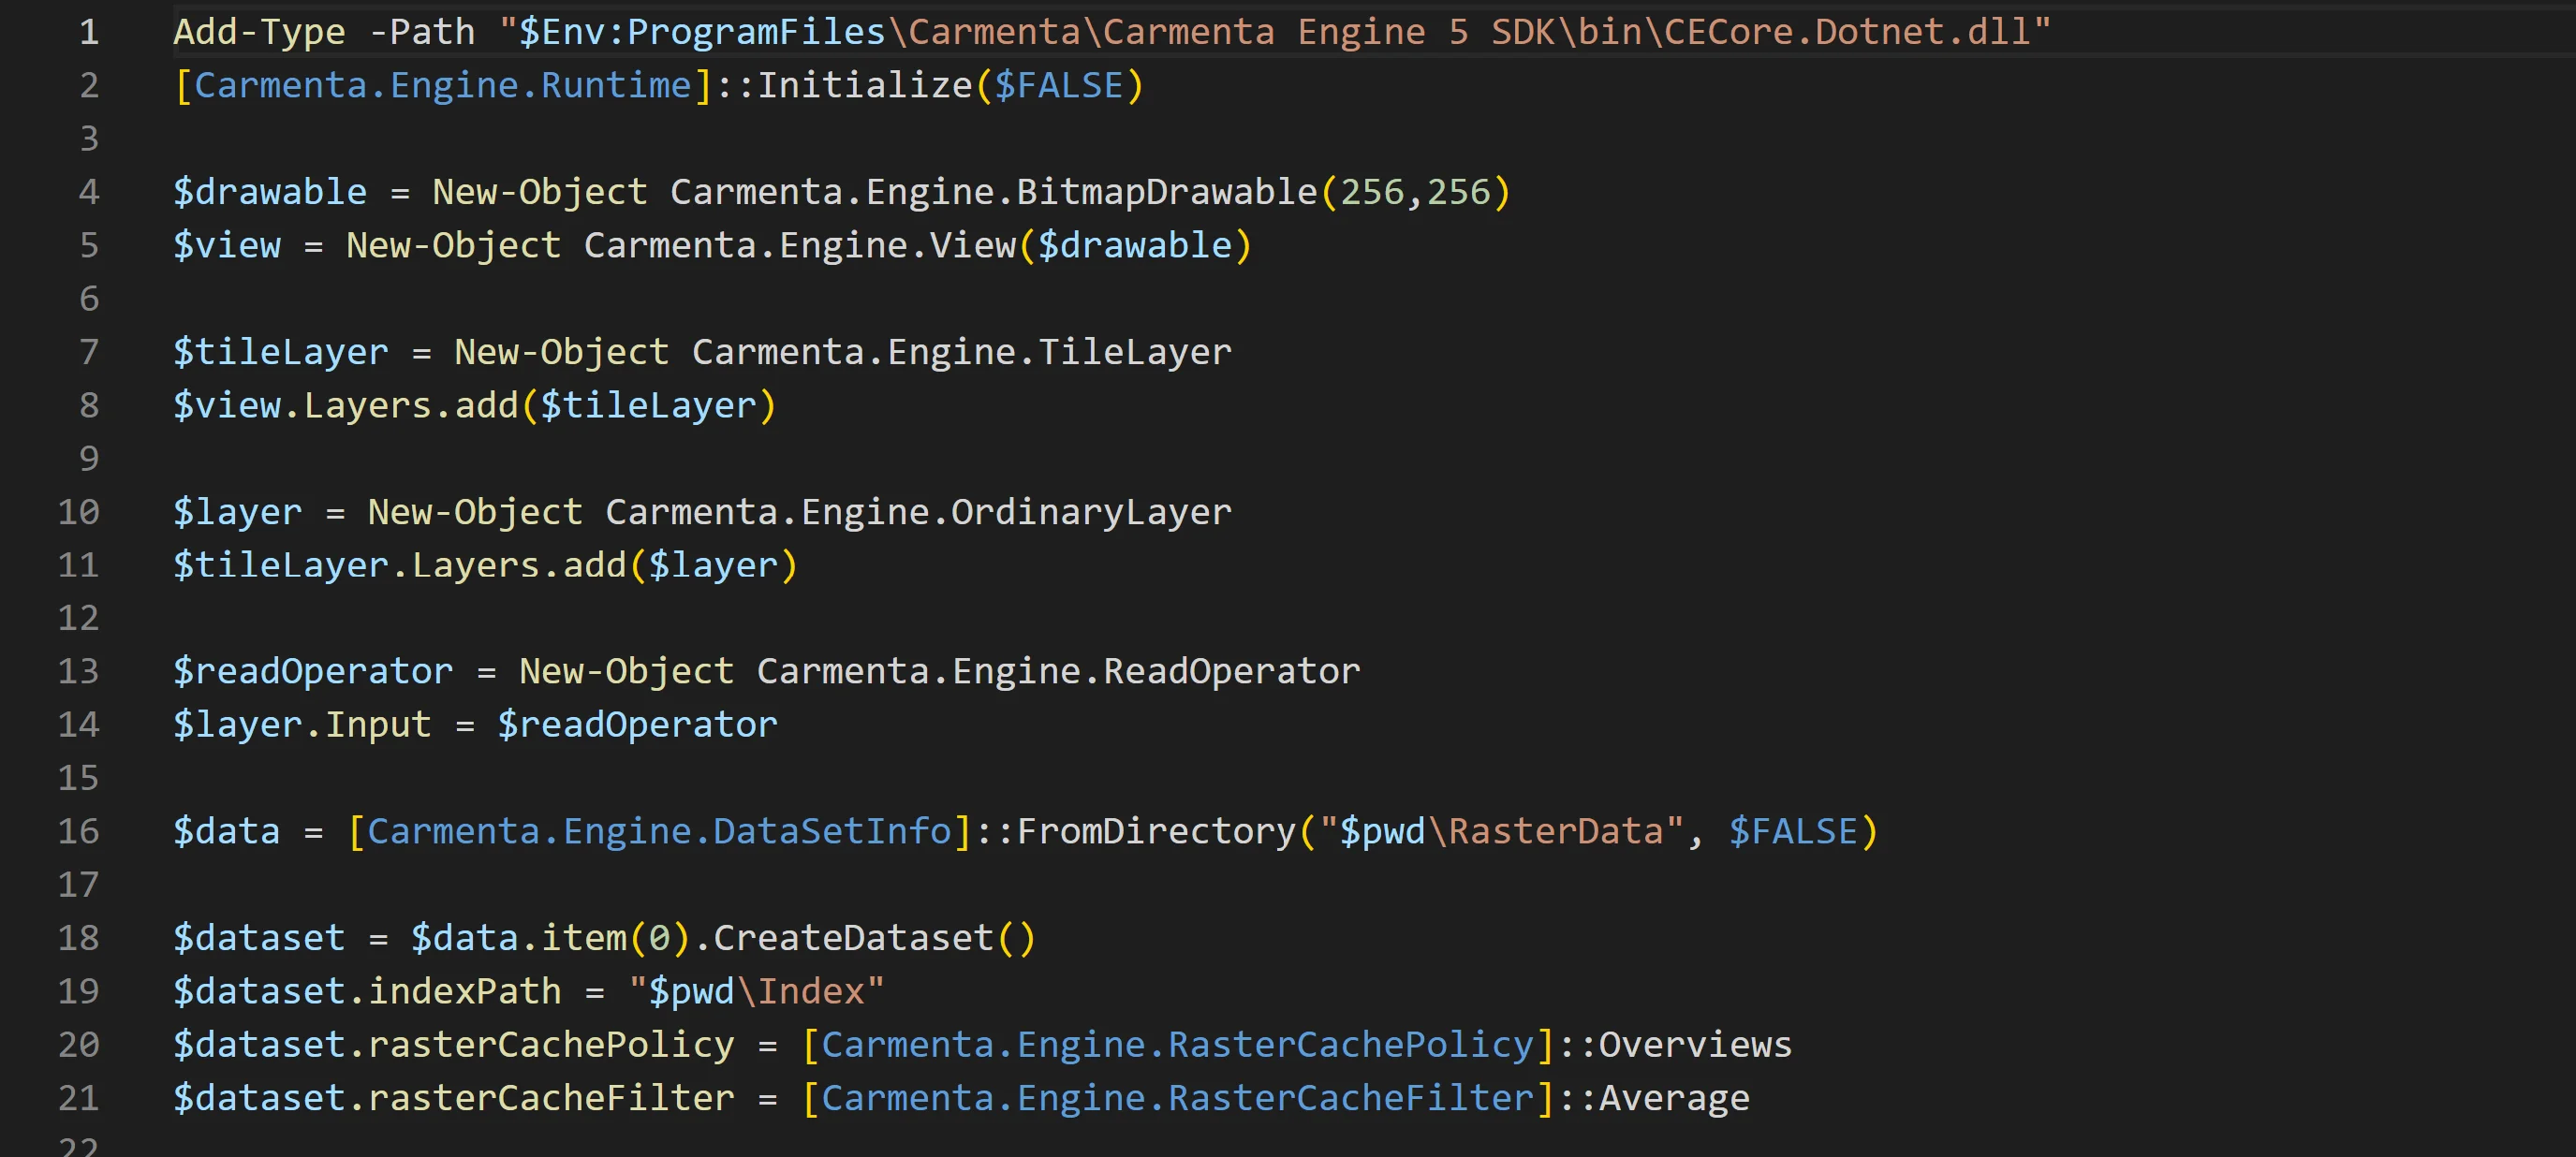
Learn how to automate your workflow, creating map configurations using Carmenta Engine’s .NET API from PowerShell.
View Post